
Want a free resource?
Get the Figma file with tons of slides that you can use for pitches, presentations, or anything in-between.
Tell me moreGet the Figma file with tons of slides that you can use for pitches, presentations, or anything in-between.
Tell me more
With Webflow's long list of built-in features inside it's robust system, it's not often that you will find yourself reaching to add custom code to your project. That said, sometimes you do want to be able to add a small amount of custom functionality, and even then, Webflow has made it a breeze to do.
Whenever you need to add that extra "umph", you can simply go into your project settings, and add custom code to your head and body of your website.
So what exactly should you add? Well, I'm going to be collecting the best Webflow custom code snippets in a code-snippet library, so you can easily browse and add different chunks of code to take your Webflow website to the next level.
To get you started with the kind of custom functionality that works great, I've put together some of my favourite custom code snippets that you can easily add to your Webflow project:
So how do we add these? Let's find out.
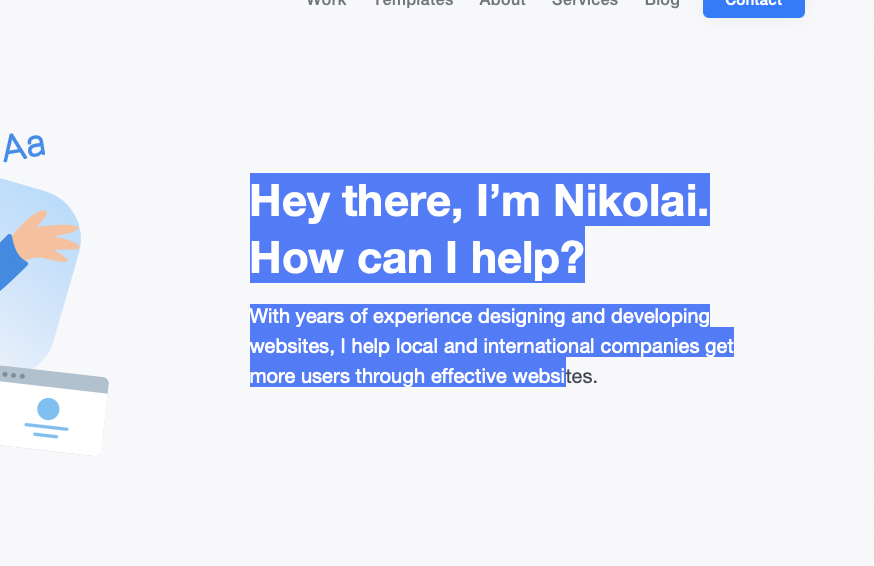
This is a subtle detail that brings your website even more in-line with your branding. What does it look like? Feel free to select any text here and you'll notice a custom background and text colour being used.
To add this effect globally across your site, add this code to your page head in your project settings:
<style>
::-moz-selection { /* Firefox */
color: #333333;
background: #FFD900;
}
::selection {
color: #333333;
background: #FFD900;
}
</style>
Change the 'color' to the text colour you want, and change 'background' to the background colour you want.
To add it only to a certain div or piece of text, you just need to specify the class that the effect should be added to:
<style>
.content-class ::-moz-selection { /* Firefox */
color: #333333;
background: #FFD900;
}
.content-class ::selection {
color: #333333;
background: #FFD900;
}
</style>

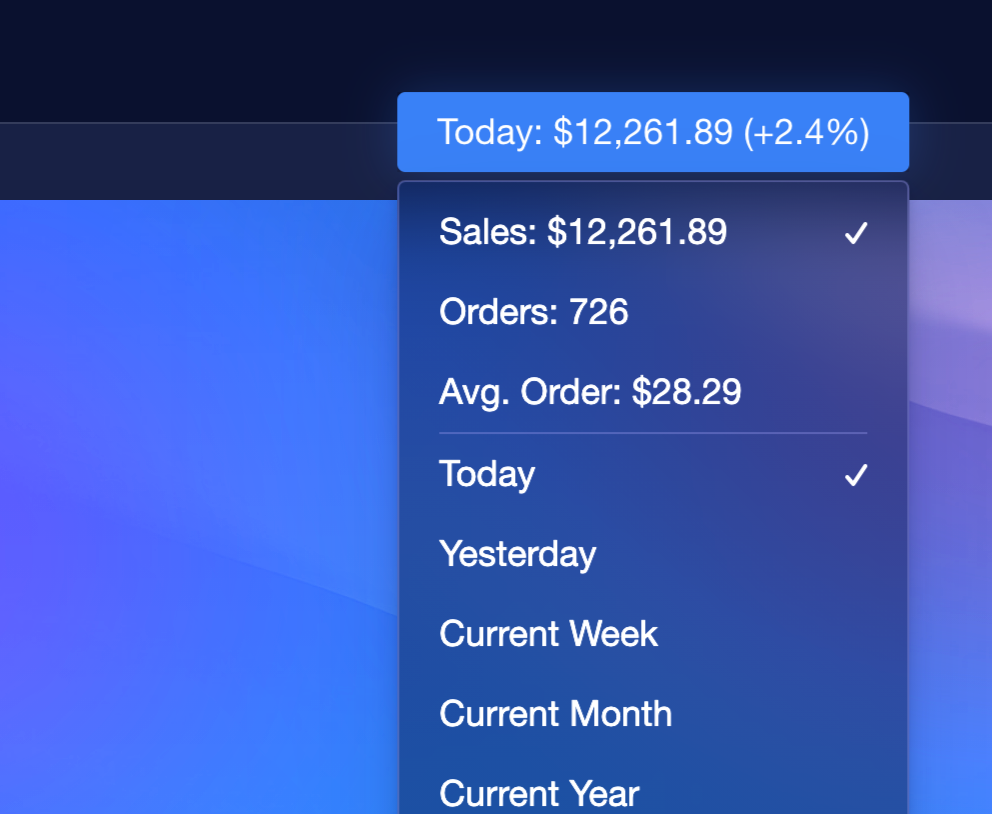
This is a commonly used effect on the headers of homepages to change between different features or target audiences that the product or service is for. You can set as many different strings on text that you want, and make the strings as long as you want.
You can add this globally if that suits, but I would recommend just adding it to just the specific page you want to use it on.
Here's the code to put before the </body> tag:
<script src="https://cdnjs.cloudflare.com/ajax/libs/typed.js/2.0.10/typed.min.js"></script>
<script>
var typed = new Typed(".typed-words", {
strings: ["Sentence 1", "Sentence 2", "Sentence 3"],
typeSpeed: 80,
backSpeed: 40,
backDelay: 2000,
startDelay: 500,
loop: true,
showCursor: false,
cursorChar: "|",
attr: null,
});
</script>
With this code, you'll want to add in an empty div with the class "typed-words", and then put it on your page where you want the text to show.
Feel free to preview it first in your staging domain (website.webflow.io) to test that it is working, and then you can change the strings to whatever you want them to be. You can then play around with the settings to change speed.

Though this is an effect you can also add through the built in interactions, the specific functionality is left out to be able to add and remove shadows through user-interaction.
You can instead add a separate div that hides and appears on scroll, but when it's just as easy to add as custom code, why complicate things?
Here's the code to add in your project settings before the </body> tag:
<script>
let navContent = document.getElementById('main-navigation');
$(window).scroll(function() {
if($(window).scrollTop() > 0) {
navContent.style.boxShadow = '0 1px 0px #e8e9ee';
navContent.style.transition = 'all 0.2s';
} else {
navContent.style.boxShadow = '0 0 0 rgba(0, 0, 0, 0)';
navContent.style.transition = 'all 0.2s';
}
});
</script>
The code makes it so if a user hasn't scrolled, no shadow will be visible, and as soon as they scroll, the nav div will have a shadow added.
You'll need to add the ID 'main-navigation' to your navigation div, but other than that, all you need to do is style the shadow.
In the example above, '0px 1px 0px #e8e9ee' translates to:
Horizontal movement - 0px (no movement) Vertical movement - 1px (go down a pixel so we can see the shadow) Blur - 0px (no blur: this is the one you can play with to get your desired effect) Colour - #e8e9ee (this is a subtle grey I like, but change to any colour you want)
If you're new to styling box shadows, play around with the example here.
The trend of the futuristic blurry-glass background doesn't look like it's going away anytime soon, so why not embrace it? If Apple thinks it's cool, then it's probably cool.
Jokes aside, adding in this effect is easier than you think. Here's the code you'll want to add in the <head> of your project settings:
<style>
.glass {
background: rgba( 255, 255, 255, 0.10 );
box-shadow: 0 6px 32px 0 rgba( 31, 38, 135, 0.08 );
backdrop-filter: blur( 12.0px );
-webkit-backdrop-filter: blur( 12.0px );
border-radius: 100px;
}
</style>
The only other thing to do is add the "glass" class to any div you want the effect added too. That was so quick to do that you now have plenty of time to tweak it to your desire.
Ever seen those divs and text sections that follow you down the page, but then switch colours when the background colour of the section changes? It's actually a lot more simple to apply than you might think.
Add this code to the <head> in your project settings:
<style>
.text-class-name {
mix-blend-mode: difference;
}
</style>
You'll want to use the class of the text element or div element that you want to change colour as you move between sections.
And there you have it, some great simple ways to upgrade your Webflow website with only a little bit of custom code. Make sure to find these snippets along with others in my code-snippet library as I add them in over time.
Start with a Webflow template and have your new website up in no time.

Written by
I'm a Webflow professional partner and template designer who helps users learn to use Webflow better.
More about me
Learn the strategies and best practices on how to maximise your Webflow website.

Learn about how to become a successful web design freelancer in 2021.
Learn More
Learn the step by step process of going from idea, to up and running web app using Webflow.
Learn MoreI've worked with countless businesses around the world. Maybe you'll be next.
Get in Touch


